Home Chapter One Our Vegan Lifestyle Likes Comment-Free
Showing posts with label fructosefree. Show all posts

Gluten Free Jumbo Blueberry Muffin Recipe

Thursday, June 17, 2010


I know, I'm a little obsessed with muffins lately, aren't I? My arguably (un)healthy love for the wrapped-in-paper fluffy breakfast pastries is somewhat slowing though, as I've started taking on a new baking challenge- biscotti. Thats not saying that this will be my last recipe post about muffins (although I'm sure some of you wish it was), I'm just not quite as enthusiastic about the things as I was a month ago. We all go through phases, right?


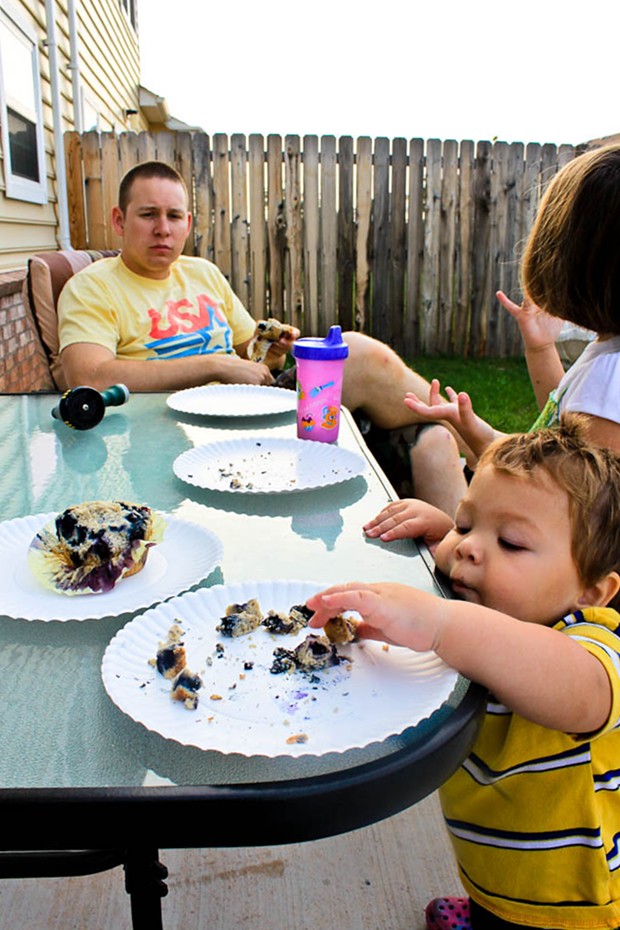
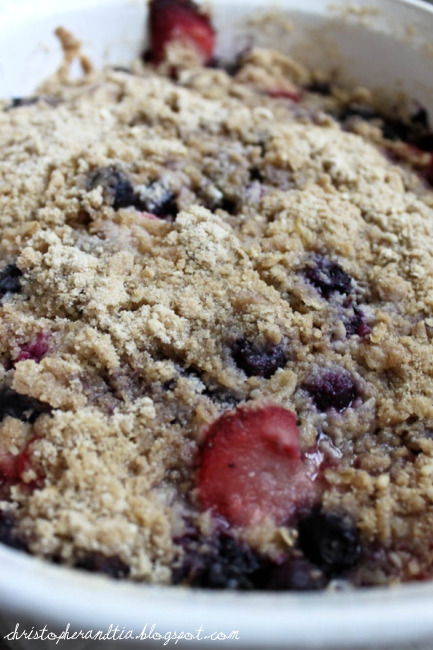
A couple of mornings ago, we brought our breakfast out onto the back porch with us. Blueberry muffins. I don't know what we were thinking, since this ended up attracting 9,000 flies (seriously, how did they find us so quickly??), but at the time, it seemed like a nice idea


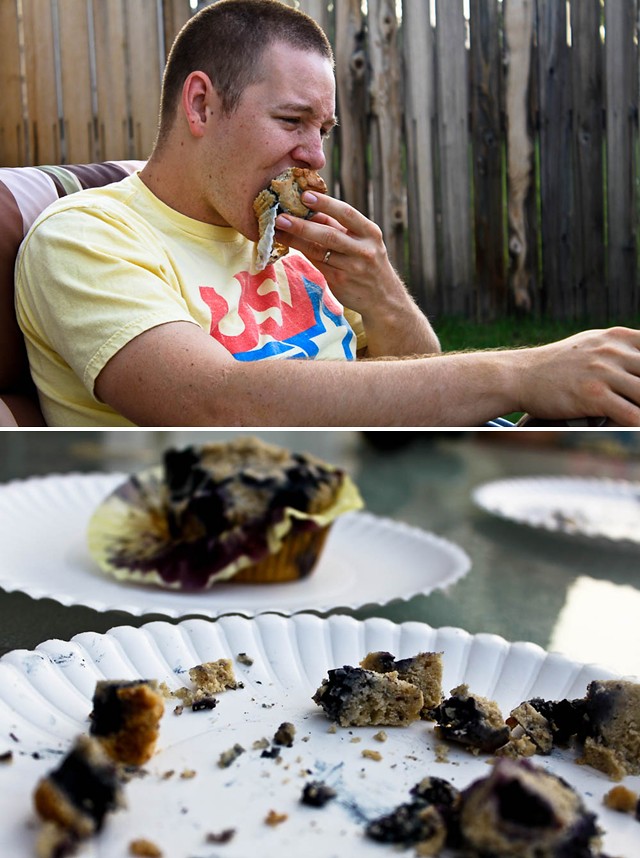
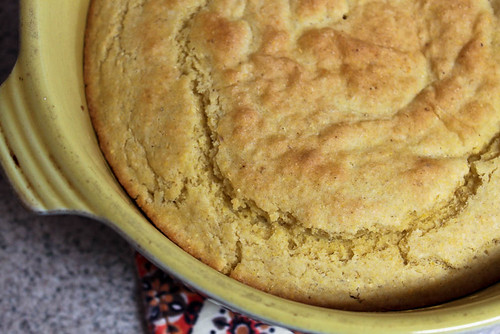
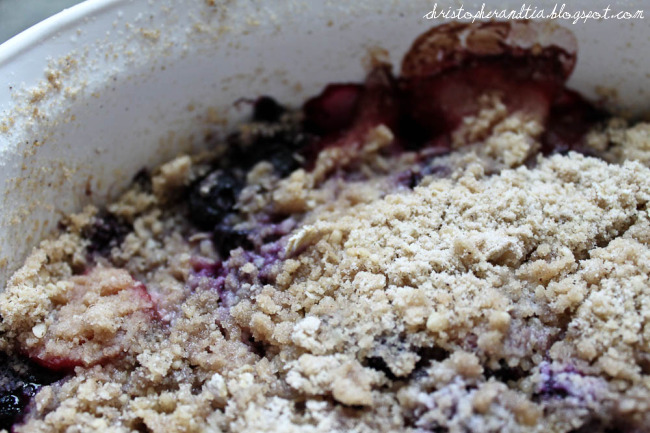
Whats better to eat on a Saturday morning, than an over sized handful of crumbly blueberry bliss?

Thats right, nothing.

And really, blueberry muffins are kind of the all-season delight, ya know? It doesn't matter if its spring or fall, they always fit in with whatever.

Now- think of the theme music to Jaws, and start humming it softly to yourself, and don't stop...


Heeeeeeeee.

Kinda funny, right?

Hopefully you just cracked at least a little bit of a smile, with that one.

My kids love eating these muffins for breakfast. For awhile there, we were having them every single morning. Maybe not the blueberry specifically, but some type of jumbo muffin (banana, chocolate chip, etc). And the first morning we went without them? My daughter pouted all the way through her cereal, as if I had just broken her cake loving heart. Oh poor baby, right? But really- I was kinda bummed too.


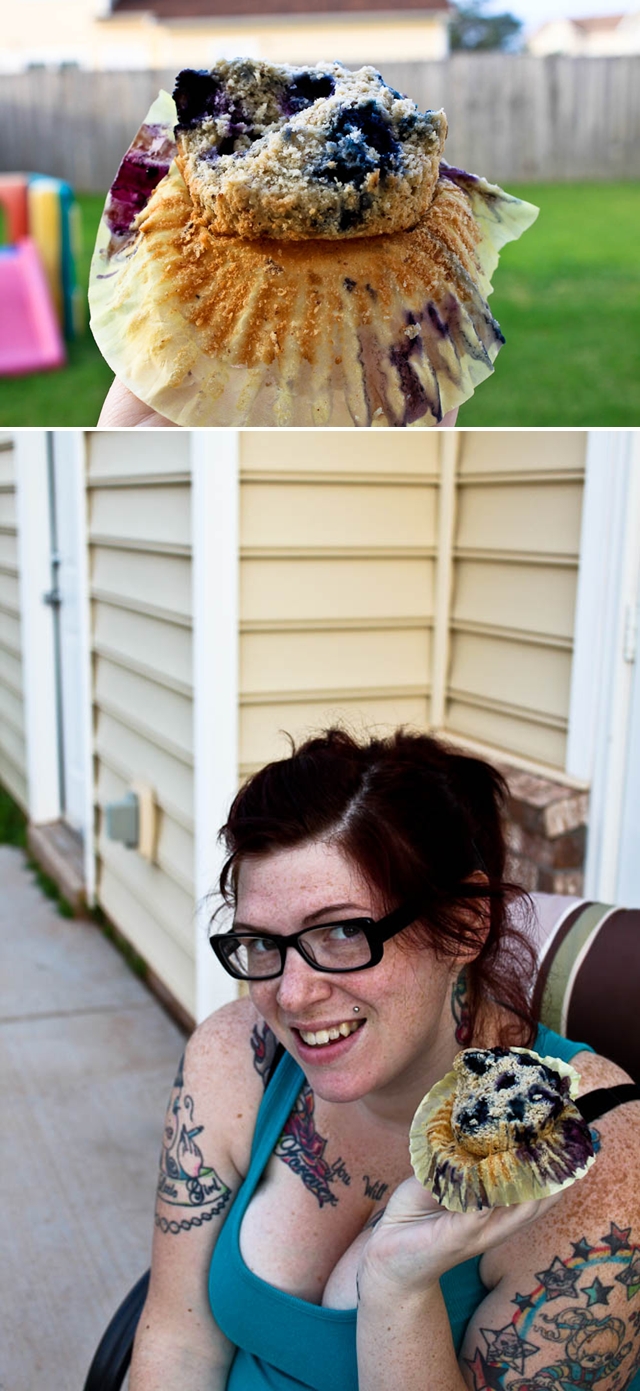
But not this morning, because I had a big ol' muffin to love, all to myself.

And um, ahem- I know you've all been wondering what I look like when I've freshly rolled out of bed. So-

...well now that mystery has been solved.

Next riddle: what doesn't my husband understand about the very detailed directions of: "make sure none of my cleavage is in the shot, ok?".

Fail.


I made him pull weeds for that.

(Ooh! Ooh! See my new bird bath??!)

Alright alright, enough chit chat. Lets get to the recipe posting part...


*******************************
GF Jumbo Sized Blueberry Muffin Recipe


Ingredients:
-2 1/2 cups gf baking mix (I prefer to use this homemade mix)
-2 tablespoons flax meal
-3/4 cup sugar
-1/2 teaspoon nutmeg

-1/2 cup melted smart balance
-2 or 3 teaspoons vanilla extract
-1/2 teaspoon almond extract
-2 eggs, beaten
-1 cup soy milk

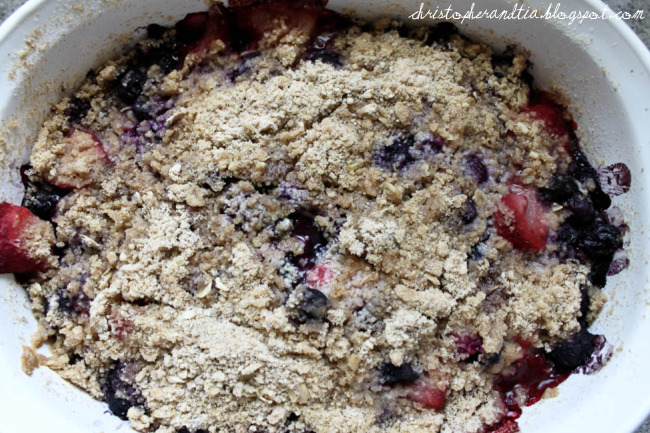
-1 1/2 cups frozen blueberries


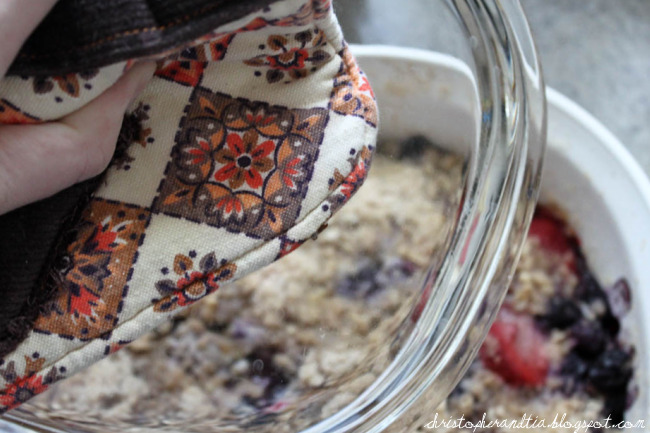
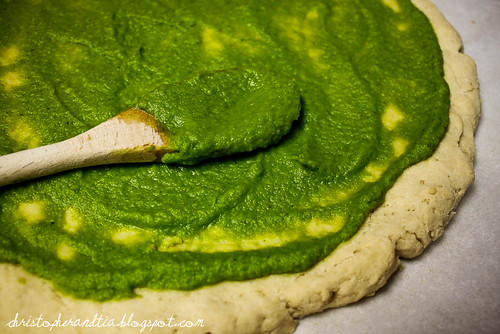
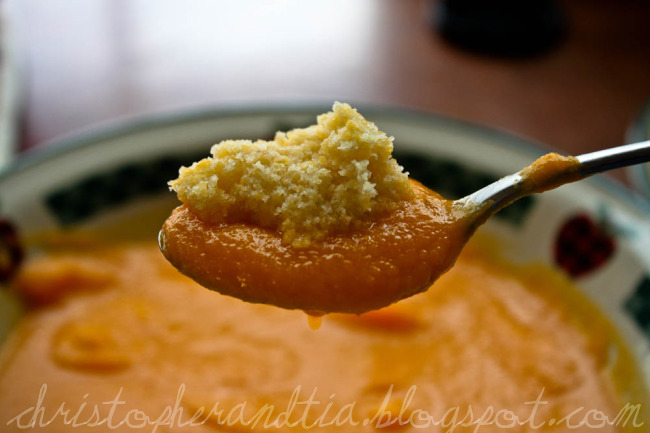
And then, mixing them is super simple, of course. Two separate bowls, one for wet ingredients, one for dry ingredients. After everything is mixed separately, then mix them together. Fold in the blueberries at the last minute, and then load up the muffin papers. This should be enough to fill an entire pan.

Keep in mind, these are jumbo muffins, not standard size. You can probably use this recipe for standard sized muffins too, and maybe just cut the baking time in half? Maybe not quite half, though.

For the jumbo kind, bake these at 350 degrees, for 35-40 minutes.


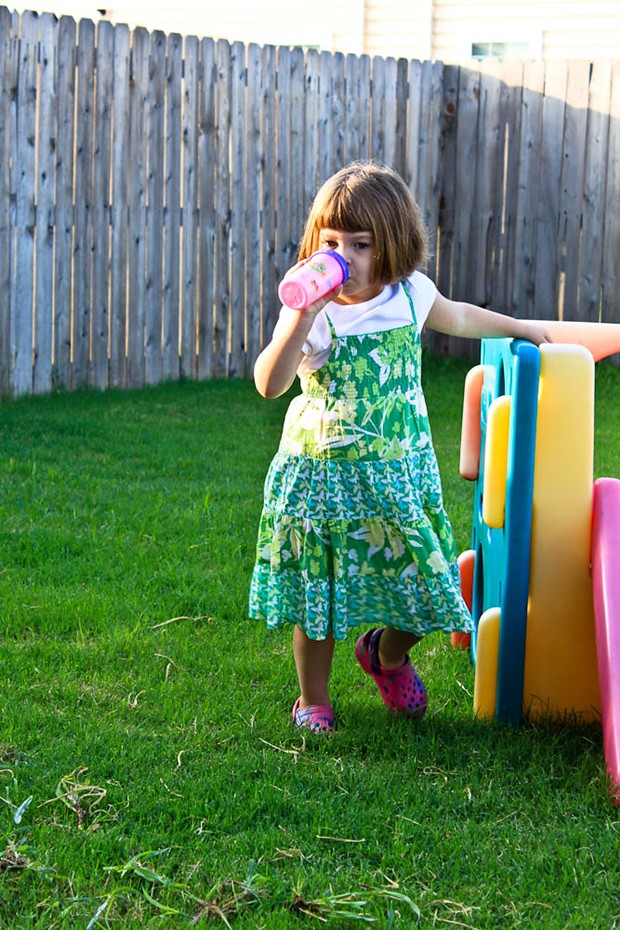
And don't forget your sippy of milk :)

Jumbo Sized Gluten Free Banana Nut Muffin Recipe

Thursday, May 27, 2010


My new thing lately, is jumbo muffins, Texas sized sounds fitting.

I went through withdrawals, for awhile. Not being able to pick up a flat of jumbo muffins at Sam's Club, the way my Grams used to at Costco. Not being able to stop at a mini mart, while on an outing with my family. Jumbo muffins go perfectly with coffee, go perfectly with road trips, go perfectly with busy mornings. Not to mention, they're heartwarming. I don't know about you, but for me, a jumbo muffin holds a certain sense of nostalgia that just can't be beat.

Well finally, I put my Texas sized muffin pan and jumbo sized cupcake liners to work. How hard could this be? Really.

I'd like to share with you, if you're at all interested (oh I know you must be, and if you're not, humor me?), a recipe for jumbo sized gluten free banana nut muffins. These muffins are low in sugar, and loaded with health. I hope you enjoy them as much as my family and I do...


Jumbo Sized Gluten Free Banana Nut Muffins

-1 1/2 cups gf baking mix (I LOVE this self rising mix that you can make yourself)
-1/2 cup sugar
-2 tablespoons flax meal
-1/2 cup soy milk
-1/4 cup melted smart balance
-2 eggs, beaten
-2 ripe bananas
-1/4 teaspoon almond extract
-1 teaspoon vanilla
-1 cup chopped walnuts


Preheat your oven to 350 degrees. Line your jumbo muffin pan with jumbo muffin liners. These are not the same as regular lines. I had to hunt all over town for them, but hopefully you'll have easier access than I did. If not, you can order them in bulk on Amazon, which is what I'm about to start doing (now that I'm making muffins twice a week).

Before you start with anything else, it might be a good idea to chop up your walnuts. You don't have to use walnuts (I'm allergic), but they seem to be the best option for these particular muffins. Scoop out a cup, and chop chop chop away. You can also run them through your food processor, vita mix, magic bullet- whatever, but I typically make these while the babies are sleeping, so I chop them by hand, to prevent any early waker uppers, know-what-I'm-sayin'?

You'll need two bowls. One for wet, and one for dry.

Melt your smart balance in a glass measuring cup or small bowl (ok so you might have needed 3 bowls then, I guess).

In the larger of the bowls, you'll add your flour mixture, your flax meal and your sugar.

In the smaller of the bowls, mash up your bananas with a fork. Add your melted smart balance, your soy milk, your beaten eggs, and both your extracts.

Mix mix mix, with a wooden spoon.

Fold in your chopped up nuts.

Spoon equal parts into your papers, mixture will be thick and fill it up about 3/4 of the way, and put into the oven for 35-40 minutes. This will make 6 jumbo muffins.

And we all know how to tell when a muffin is finished, right? The tops should be browned, and the toothpick should come out clean.

We store ours in the fridge or freezer. If frozen, microwave for one minute, or let thaw in the fridge overnight.

*NOTE- make sure you let your muffins cool completely, maybe even chill them, before digging in. Warm muffins will stick to the paper, and have a slightly gummy texture. Cooled muffins will not.

Jumbo GF Blueberry Almond Muffin coming soon...

Cornbread. So comforting.

Sunday, May 23, 2010

The weekend has flown by, much like the wicked witch you'd see passing by the outside of your window during a sepia toned tornado in Kansas.

Anybody?
..no?

Here it is, Sunday night already. Both babies are in bed, my husband is in the bathroom cutting his own hair (because I can't stand to get too close to his awful airplane head gash, I'm pathetic when it comes to wounds) and I'm finally sitting down and giving my swollen tingly legs a rest. This weekend has been much too busy, with multiple batches of Texas sized muffins rising in the oven (both blueberry almond and banana walnut), garage sales galore (it was worth waking up at 6:30 on a Saturday for), testing out the wheels of our new double stroller, and everything in between.

Because I feel so comfortable right now, freshly showered, all yoga'd and stretched out, the house is almost completely silent with the exception of the air conditioner and the sound of the hair clippers off in the distance, I thought it would be fitting to share a recipe? A comfort food recipe?


Now this isn't my recipe, its borrowed from the always amazing Gluten Free Girl. I swear I can smell whatevers cooking over on her blog before I even click on my "favorites" bar to head over there.

I've made this cornbread several times, and it always comes out deliciously perfect, every single pan.

I may have altered an ingredient or two, to fit my own needs, but otherwise, this recipe is pretty much untouchable. You can visit her blog post, by clicking here (we even use similar style cooking pans, *little girl style, I-have-a-total-food-crush-on-you, giggle*). Otherwise, here is my variation...

1/4 cup sorghum flour
1/2 cup tapioca starch
1/4 cup rice rice flour
1/4 cup millet flour
3/4 cup yellow cornmeal
1/4 cup sugar
4 teaspoons baking powder
3/4 teaspoon salt
1 teaspoon xanthan gum
1/4 cup smart balance
2 large eggs
1 cup soy milk


Preheat the oven to 425°. Combine dry ingredients. Cut in smart balance using a fork or cutter. Add beaten eggs, and soy milk. Mix mix. Pour into greased pan. Bake for 25 minutes. Eat and be comforted.

My family is never disappointed when there is cornbread on the table.
I just might have to make some for dinner tomorrow.

Berry Breakfast Not-So-Crisp

Tuesday, April 27, 2010


We had a rough weekend, folks. With Christopher working 12 hour shifts both Saturday and Sunday, Eleanore's epic meltdown in the middle of the Earth Day celebration at the zoo (I officially believe in angels after that, by the way, especially those that come to us in the form of cowboys), and Charlie's vitamin c allergy kicking into full gear- this berry cobbler was just what I needed.

I made this Friday night, actually, so that it would be ready for Christopher to have on Saturday morning (I thought maybe it would help ease his I-don't-wanna-work mood).

I haven't had a cobbler since I was pregnant with Charlie. And during that time period, I must have eaten at least six peach cobblers, probably all to myself. At the time, I had no idea of my fructose intolerance, and was always so confused as to why I felt so awful after the peach dish was gone.

I was nervous to make this cobbler. Well not nervous to make it, I knew my family would probably love it whether I ate it along with them or not, but I was nervous that the sugar used to sweeten it would caramelize during the baking process- and if that happened, I couldn't have even a single bite. And I really wanted cobbler.

Usually the "crunchy" crisp topping contains brown sugar. Well I can't have brown sugar (the molasses), so I figured I'd just use cane sugar. And... maybe if I didn't use as much of it... then it wouldn't caramelize?

Y'all, really, I know nothing about baking. And when it comes to baking things fructose free and gluten free, I'm almost always confused and completely overwhelmed.

I had to give it a try anyways though, right? I had to have myself some cobbler!

***********************
Berry Breakfast Not-So-Crisp
This recipe is both Gluten free, and fructose free


Preheat oven to 350.

The Filling
-5 cups frozen berries
-1 tablespoon cornstarch
-1 tablespoon rice flour
-1/2 cup cane sugar

The Not-So-Crisp
-1/4 cup gf oat flour
-1/4 cup gf oats
-1/2 cup almond flour
-1/4 cup sorghum flour
-1/4 cup millet flour
-1/2 cup rice flour
-1 teaspoon cornstarch
-1/4 cup sugar
-1/4 cup Earth Balance


Pour your frozen berries (I used strawberries and blueberries) into a glass bowl. Pour the rest of "the filling" ingredients right on top of them.


And then mix it all up.


Mix up all of your "Not-So-Crisp" dry ingredients in a large glass bowl, and then cut in your earth balance with a fork or one of those fancy butter cutter inner thingies. Yep, one of those.

Take a big handful, and sprinkle it inside a greased casserole dish. Just enough to cover the bottom.

Add half of your berries.

Add another handful or two of your not-so-crisp.

Add the remainder of your berries.

Add the remainder of your not-so-crisp.

Cover your casserole dish, either with a lid, or foil- put it into the oven for 50-60 minutes.

Wait, wait, wait. Tick tock, tick tock.


The oven is beeping, and your house smells like a warm orchard, right? And ohmahgosh, it looks so good through the lid, doesn't it?


Aaaand, remove the top. Look- no caramelization!! Well, for those of you who like the crispy crunch of the baked brown sugar, you might not be nearly as excited as I am. For the 2 other people with fructose issues that might be reading this, YAY with me, will you?? YAY!


While your dish sits and cools, the floury crumble is going to soak up the berry juices. It might start to look a little soggy (like the above pictures), and you might start to get a little sad faced, not being used to a soggy crisp, but... this is a not-so-crisp, and it still tastes just as good, I promise.


The cobbler tends to thicken quite a bit when re-heated, so if you're going to eat it warm the next day, be careful not to overheat it.

For the baby's breakfast, I added a few drops of water and ran it through the blender. Hes picky, and I still have to puree things for him, even though hes 16 months old. Hey I understand- not having molars is hard.

If you're feeding this to a little one, you might want to um... be careful?


Because, uh oh. It looks like someone made a lil' bit of a mess, huh?


But I guess that means he likes it!

Of course I'll be playing around with this recipe in the future, I'll probably make it again this next weekend (its so nice to wake up and have a yummy cobbler to eat to get your morning started!), and maybe I'll see what happens if I defrost and pat dry the berries before baking? Maybe I'll use less flour? Maybe I'll use more? It'll take a couple tries to bring it to my own personal perfection, but this is a great start, if I do say so myself.

Enjoy!!

Gluten Free Pizza Crust With Zucchini Sauce

Monday, April 5, 2010

Try not to be too turned off by the sight of a green and yellow pizza?

We have pizza a lot in our house. Well, "pizza", hah, if we can really call it that. We buy an overpriced box of gluten free pizza crusts from the health food store, stow it away in the freezer for Friday or Saturday night when nobody wants to cook (lately, nobody ever wants to cook), and then top it with a homemade cashew "alfredo" sauce, throw on some veggies or chicken, and call it good.

Lately, all I can think about, is tomato sauce. Tomato sauce on noodles, tomato sauce on pizza crust, tomato sauce in a big spoon on its way into my mouth. Sadly, tomato is one of those things on the no-no list for those of us that suffer from fructose malabsorption. Not only that, but my babies can't have it because of their citrus allergies (Eleanore is seeming to grow out of hers, just as Charlie's is worsening).

I'm sick of making an alfredo sauce. The taste has become repetitive and boring, the thought of eating another slice of pizza coated with the stuff makes me lose my appetite altogether.

Also, we're cutting costs. Part of that means... we're done using baking mixes, and we're done buying pre-made anything. I've been avoiding baking from scratch for awhile now, not wanting to put in the extra effort (I'm tiiired), but its gotten to the point where its either we make it from scratch, or we starve.

Fine, fine. I'm up for the challenge. I've got two babies, a growing belly, 9 million food allergies, the never ending need for a nap, but- really... I love it.


My first challenge. Gluten free pizza crust. Usually if I were to make this "from scratch", I'd just use some of Pamela's baking mix and that would be that. But having recently bought a bag of every kind of gluten free flour that I could get my hands on, I decided to roll up my sleeves, put my apron on, and get started. No time to waste.

...would you believe, that on my first attempt, it was the most delicious gluten free pizza crust that I had ever tasted? That's rare. Very rare. For me at least. Even Christopher, through loaded chipmunk cheeks, made a comment about how it was the best pizza he had ever eaten. He says that about everything I make, bless his heart, but somehow this time I think he might have meant it.

So now I'll share it with you.

Tia's Gluten Free Pizza Crust Recipe

-1/2 cup white corn flour
-1/2 cup white rice flour
-1/2 cup sorghum flour
-3/4 cup brown rice flour
-1 cup tapioca flour
-1 teaspoon sea salt
-2 teaspoons xanthan gum

-3/4 cup warm water
-2 1/2 teaspoons yeast
-2 eggs, beaten
-2 teaspoons lemon juice
-2 tablespoons olive oil (+1 tablespoon for later, set aside in small bowl)
-2 tablespoons sugar

I started by preheating my oven as low as it would go, which is 170. I did this so that my dough would have a nice warm place to rise once I was finished making it. I turned the oven off just a few minutes before putting the dough in.

For one large thick pizza, line one cookie sheet with parchment paper. For two thinner crust medium sized pizzas, line two sheets with parchment paper.

Get out two bowls. One large, one medium.

Start making your dough, by mixing all of your flours, sea salt, and xanthan gum, in the large bowl. Gently mix them all together with a whisk, and then set both the whisk and the flour aside.

Fill a glass measuring cup with warm (as hot as my sink will allow) water, pour in yeast, whisk until frothy.

In medium bowl, mix beaten eggs, lemon juice, oil, and sugar together. After those ingredients have been well combined, add yeast water. Gently mix together with a spoon. The ingredients should come together perfectly, and just barely stick to your fingers. If you're making one large thick pizza, roll dough into one ball, and place in the center of your parchment paper lined cookie sheet. If you're making two medium sized pizzas, split dough in half, and do the same.

I'm not fancy, I don't use fancy tools. I simply dipped my fingers in olive oil (thats why I had you set some aside earlier), and then smoothed the dough out into a pizza crust shape with my finger tips. The end result was perfect. Work slowly, have patience, and your end result will probably be perfect too.

Put into your warm oven, set the timer for 40 minutes, let rise.

After the 40 minutes is up, pull them out, preheat oven to 350, and then bake your crust for 10 minutes.

Tia's Zucchini Pizza Sauce Recipe

-2 carrots, peeled
-2 large zucchini
-1 teaspoon garlic powder
-2 leaves basil
-1/2 teaspoon dried oregano
-splash of water, just a splash
-salt and pepper to taste (I used quite a bit)

This recipe is fructose free. For some of you, that means nothing. For the few of you that might have stumbled here from doing a google search, this is beeg time! *keep in mind that with fructose malabsorption, everyone has their own cans and cannots. Zucchini is tolerated by most, but not all. Proceed with caution :)

In order to make a smooth sauce, you'll need either a food processor, or a heavy duty blender (Vita Mix, woot woot!). If you don't have either of those, try grating your carrot and zucchini? I'd love to know how that turns out.

So. Puree all of your ingredients, minus the salt and pepper. You don't need very much water all, if any. Zucchini holds a lot of water in itself, but if your blender just isn't budging, toss in the right amount of liquid to get things moving.

Cook on medium heat, adding in your salt and pepper as you go, until your sauce turns the shade of green that you're looking for. I think I cooked mine for about 20 minutes.

And then from here... I think you know how to put yourself together a pizza, right? Hee hee.

On ours, we sprinkled soy cheese, mushrooms, and black olives (typically I hate black olives, but lately I can't get enough of them).


I've made this pizza crust twice now, and both times, it turned out amazing. I didn't need to add a single drop of liquid, or the slightest sprinkle of flour. We're one happy family.

Sweet Potato & Carrot Soup W/Lime

Wednesday, March 17, 2010

This recipe is gluten free, fructose free, and vegan

Since discovering my fructose malabsorption 6 months ago, I've had a very hard time in the kitchen. I have my familiar meals that I make like a broken record, but as our taste buds become immune to them and my belly begs for more, I think I'm finally comfortable enough with my food intolerances to break out of my shell and start experimenting with taste and texture again.

One of my favorite soups of all time, is a mulligatawny. I used to make it so much that I probably could have made it in my sleep. The unique flavor was hypnotizing. Have you ever had a good mulligatawny? Because if you have, you know exactly what I'm talking about.

Its been a year or longer since I've had a bowl. Today, as the craving came over me, I went over the list of ingredients in my head, and of course, to my dismay, 3/4 of them contain fructose.

Fructose malabsorption is tricky. It effects everyone differently. There is a long list of "maybe" foods, that we all individually have to try out in order to know if we can tolerate it or not. For me, since I've been testing my maybe's for half a year now, I've got a good idea of what my NO list is. All of the fructose free recipes that I'll post here on my blog, contain what I've found to be safe for me. I wouldn't consider my case mild, one bite of something on my no list will take me out of the game for well over 24 hours, but don't take my word for what you can and cannot have. For me, table sugar is ok. For you, it might not be. Please keep that in mind? Proceed with caution *wink*...

Oh, but what I was saying though! I wanted to get as close to the taste of a mulligatawny as possible. I knew that whatever soup I made wouldn't quite compare. I hadn't had the real thing in so long though, that maybe whatever the differences were, they might not matter?


Sweet Potato & Carrot Soup W/Lime


Ingredients:
-4 cups homemade broth (making your own broth is essential, for somebody with fructose malabsorption. box'd and canned broths contain onion, and onion is an enemy for a lot of us)
-3 tablespoons olive oil
-8 carrots, peeled and chopped
-2 large sweet potatoes (or 3 small), baked in an oven at 375 for 1 hour
-1 teaspoon cumin
-1/2 teaspoon coriander
-pinch of cayenne pepper (optional)
-1 1/2 teaspoon garlic powder
-2 1/2 teaspoons sea salt
-sprinkle of sugar
-juice of 1 lime

Directions:
-Bake sweet potatoes.
-Heat your broth and oil in a large pot.
-While your broth is warming, peel and cut carrots.
-Blend your raw carrots and sweet potatoes together in a blender. Use a measuring cup or ladle to scoop out some of your warmed broth, to use as the liquid for your mixing. I blended all of my ingredients in two batches, so not to overwhelm my blender.
-Pour your puree into the pot with your broth. Heat over Low/Medium heat. Stir constantly.
-Slowly add all of your spices, but wait on the sugar and lime.
-Cook cook cook, stir stir stir.
-After you've heated your soup long enough for you to think its done, remove it from the heat, juice your lime over the pot, sprinkle in a pinch or two of sugar, stir stir stir, and then you're done!
-I served my soup with homemade cornbread (Pamela's gluten free), and it was a big hit.

Ok so maybe our picky 3 year old was a little reluctant to gobble it up- the flavors were a lot more vibrant than what shes used to. We held off on giving her the cornbread, to ensure that she ate her veggies (come on, its orange!). The more spoonfuls she had, the more bites of cornbread she got for dipping. It all worked out in the end.

I liked to break off little bits of the cornbread and set it on top of a full spoonful. Yum yum yum.

Christopher ate a bowl and a half. I only managed to get through half a bowl, and couldn't even finish my bread. It was just too filling for this Mama. And we've got probably a bowl and half leftover for tomorrow. That's enough for both me and Eleanore to eat it for lunch, but considering how rough it was for her tonight, I probably won't make her try it again tomorrow, haha.

And this guy... he got off easy. He ate quite a bit of soup actually, more than I expected, but then the "my teeth hurt!" fussing started up (come on teeth, give us all a break!), and somehow (ahem, Mama), he got his hands on a frozen waffle. Chomp chomp.

*Notes:
-We make big batches of homemade broth, and then freeze them in muffin tins and ice trays. After they're frozen, we put them in large labeled zip lock bags, that way when we need broth for a recipe, no matter what the amount, we always have some on hand.

-Having a good blender or food processor when cooking from scratch is a big deal. I don't know about you, but I couldn't go a day without my Vita Mix. If you're new to the no-fructose game, get your hands on something that can blend with the speed of wind 10.